Okta
Configuring Okta Integration with the Vega Platform
Overview
This guide provides detailed steps to configure Okta Single Sign-On (SSO) with the Vega Platform. Follow these instructions to ensure a seamless integration process.
Prerequisites
- Access to Vega Platform with admin privileges. To manage federated authentication, the user configuring the SSO Integration will need one of the following roles assigned to their Platform user
org_owner,org_global_admin, ormanager. - Access to Okta Admin Dashboard.
Terms and Definitions
- Service Provider (SP): The entity providing the service that users want to access (in this case, the Vega Platform).
- Identity Provider (IDP): The entity responsible for authenticating users and providing identity information (in this case, Okta).
- Single Sign-On (SSO): A session and user authentication service that permits a user to use one set of login credentials (e.g., name and password) to access multiple applications.
Step-by-Step Instructions
Step 1: Configure SSO in the Vega Platform
1.1 Log into the Vega Platform:
- Navigate to the Settings page using the gear icon
 in the top corner and selecting
 Organization Settings. - Click on the
Single Sign-Ontab within Organization Settings.
1.2 Initiate Okta Configuration:
- Click
+ SSO Configurationbutton to add a new SSO config. - Click the radio button to select Okta method of configuration.
- Click
Fill with Placeholder Valuesbutton
1.3 Fill Out SSO Configuration Form:
- Configuration Name/Alias: Provide a unique alias (no spaces allowed).
- Display Name: Enter a user-friendly name (spaces allowed).
- Issuer URI: Leave placeholder from previous step.
- Single Sign-On URL: Leave placeholder from previous step.
- Request Binding: Leave the default
HTTP Post - Response Signature Algorithm: Leave the default
SHA256
1.4 Identity Provider Signature Certificate: (optional)
- If you wish to upload a certificate, convert your certificate file to .pem format (see example)
Run the following command, after substitution of path and name of input and output certificate (requirement- openssl installed):
openssl x509 -in path/to/mycert.cer -out path/to/mycert.pem -outform PEM - Click
Upload Signing Certificateand select your .pem formatted file.
1.5 Click the Create button to save the configuration
NOTE: The placeholder values will be replaced with real values later in the instructions in Step 3.2
1.6 Expand Configuration Details:
- Stay on the Single Sign-On settings tab.
- Find and expand the newly created Okta SSO configuration by clicking the pencil icon

- Click in the box at the bottom labeled
Settings and configuration data required for your SSO provider to complete setupto expose needed info. - Use the copy button to copy the
Audiencestring in the dropdown, save this for use asAudience URIin upcoming steps. - Use the copy button to copy the
Single Sign-On ACS URLstring in the dropdown, save this for use asSingle Sign-On URLin upcoming steps.
Step 2: Set Up Okta Integration
2.1 Log into Okta Admin Dashboard:
- Open a second browser tab; Keep the Vega Portal open as well.
- Navigate to the Okta Admin Dashboard in your second tab.
2.2 Create New App Integration:
- From the left side menu, select
Applicationsand thenApplicationssub-menu. - Click
Create App Integration - Select
SAML 2.0as the sign-in method. - Click
Next
2.3 Configure SAML Settings:
- App Name: Enter the desired app name (Something like Vegacloud is recommended). Click
Next - Single Sign-On URL: Paste the entry saved earlier from
Single Sign-On ACS URLfield. Make sure the UUID is at the end of the URL, such as this example: Example:https://auth.vegacloud.io/realms/<CLIENTSLUG>/broker/<CLIENTNAME>/endpoint/clients/<VEGACLIENT>-client-saml-aaaa1234-bbbb-12ab-ab12-1aaa222bbbcc - Check
Use this for Recipient URL and Destination URL - Audience URI: Paste the entry saved earlier from
Audiencefield. - Name ID Format: Select
Unspecified - Application Username: Select
Email - Update Application Username On: Select
Create and Update
2.4 Advanced Settings:
- Click
Show Advanced Settings - Response: Select
Signed - Assertion Signature: Select
Signed - Signature Algorithm: Select
RSA-SHA256 - Digest Algorithm: Select
SHA256 - Assertion Encryption: Select
Unencrypted
2.5 Attribute Statements:
- Add three attributes as follows: (note: these are case-sensitive entries)
- firstName: Format
Unspecified, Valueuser.firstName - lastName: Format
Unspecified, Valueuser.lastName - email: Format
Unspecified, Valueuser.email
- firstName: Format
2.6 Finish App Integration:
- Click
Next - On the feedback tab, select appropriate options (e.g.,
I'm an Okta Customer adding an internal app) - Click
Finish
Step 3: Finalize SSO Configuration
3.1 Retrieve Okta SSO Details:
- In Okta, navigate to the newly created application.
- Click
Sign On - Click
View SAML setup instructions
3.2 Complete Vega SSO Configuration:
- Copy Identity Provider Single Sign-On URL from Okta and paste into the Vega Platform Single sign-on URL field within your Okta SSO config, replacing the placeholder value.
- Copy Identity Provider Issuer from Okta and paste into the Vega Platform Issuer URI field within your Okta SSO config, replacing the placeholder value.
- Click the
Savebutton in the Vega Platform.
3.3 Test SSO Integration:
- Log out of the Vega Platform by clicking your user icon in the corner and selecting
Log outfrom the dropdown menu. - Log back in using SSO via
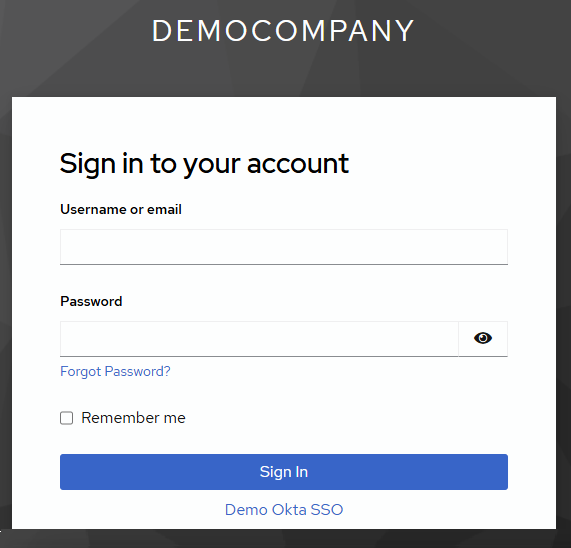
https://<your-slug>.vegacloud.ioor through the Okta Portal. - Click the link that contains the display name of your SSO integration under the
Sign Inbutton to login.
Support
If you encounter any issues or need further assistance, please contact Vega Support at support@vegacloud.io.
By following these steps, you should have successfully configured Okta SSO with the Vega Platform. Ensure all steps are completed accurately to avoid any configuration issues.