Integrations
About Integrations
Integrations allow you to connect external services to the Vega Platform. From here, you can link your cloud provider accounts (AWS, Azure, GCP, OCI) to enable resource discovery and tracking, and configure webhook notifications to send alerts to collaboration tools like Microsoft Teams, Slack, or Google Chat.
Provider Accounts Tab
Detailed instructions for connecting your cloud provider accounts to the Vega Platform can be found in the Cloud Provider Guides section of the documentation.
The provider accounts functionality within the platform provides the ability to connect your cloud provider accounts to the Vega Platform. Once connected, the Vega Platform will begin to discover and track your cloud resources.

Add a Provider Account
- Click the
+ Accountbutton.
- On the next dialog, select a cloud service provider.
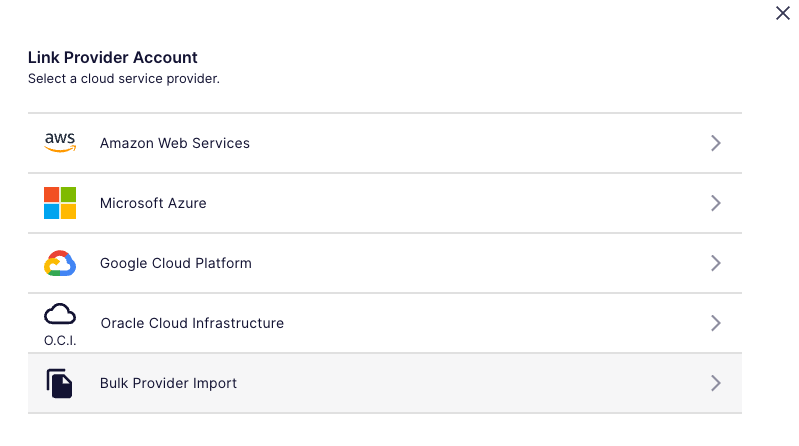
- On the next dialog, enter the required information after following the detailed instructions in the Cloud Provider Guides section of the documentation:
- Amazon Web Services (AWS) Guide
- Microsoft Azure Guide
- Google Cloud Platform (GCP) Guide
- Oracle Cloud Infrastructure (OCI) Guide
Bulk Upload for Provider Accounts
Please see Bulk Upload for Provider Accounts.
Notifications Tab
This section guides you through configuring notifications and alerts for your organization. These features help you stay informed about important events, ensuring effective resource management and prompt awareness of any issues or anomalies.
Enabling or disabling Organization Notifications does not affect Notifications & Alerts configured in Profile Settings.
Webhook Notifications
Microsoft Teams
Currently, only Anomaly notifications for an organization are sent to the configured Microsoft Teams channel. All anomalies across the organization will be sent once per day.
-
In the Microsoft Teams application,
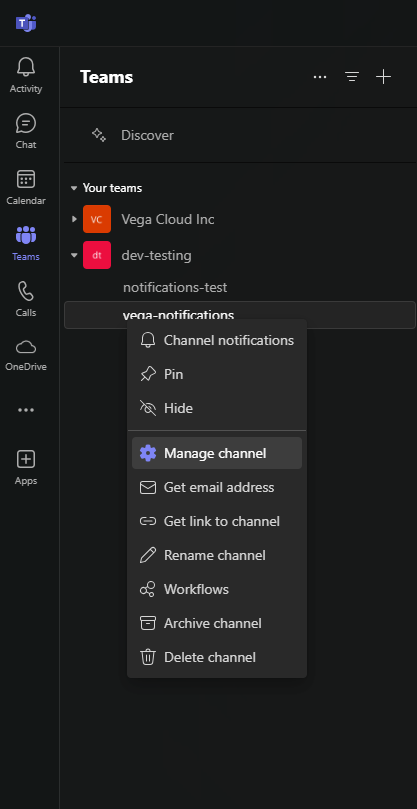
- Navigate to the channel you want to receive notifications.
- Right-click, or click on the three dots to the right of the channel name, and select "Manage channel":
-
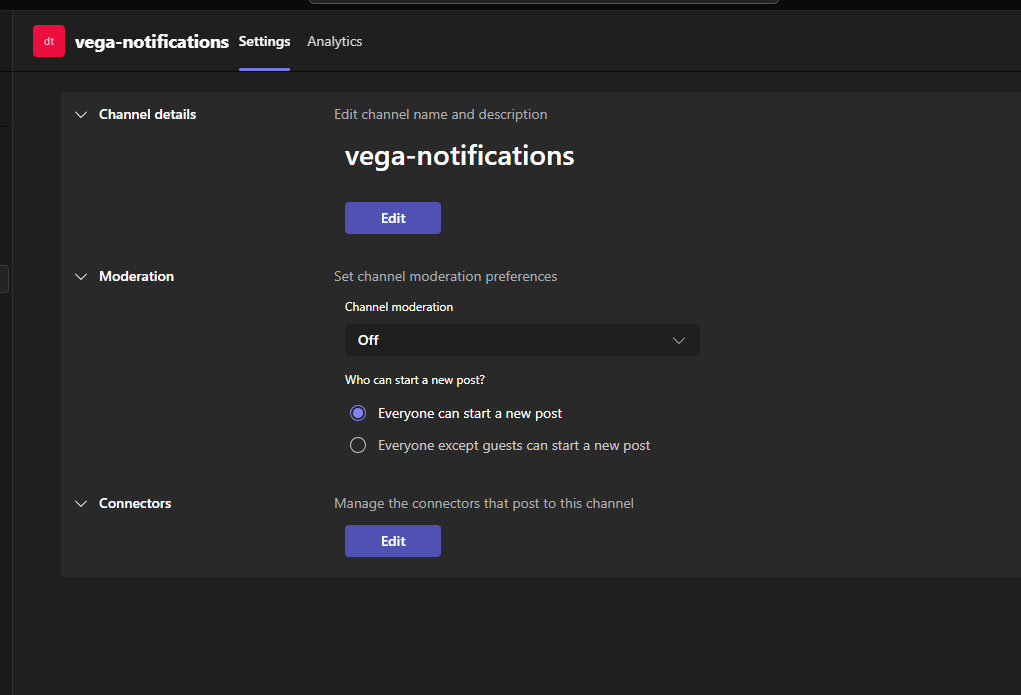
Click on "Edit" under Connectors:
-
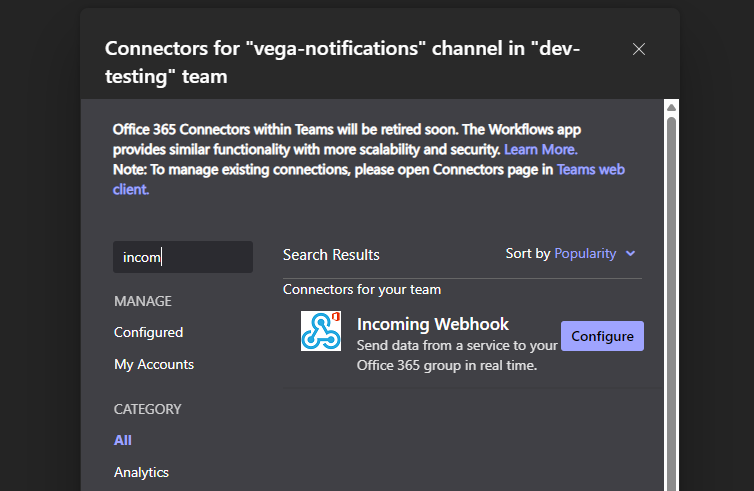
Search for "Incoming Webhook" in the search box. In the search results, click on "Add" or "Configure" for the connector:
-
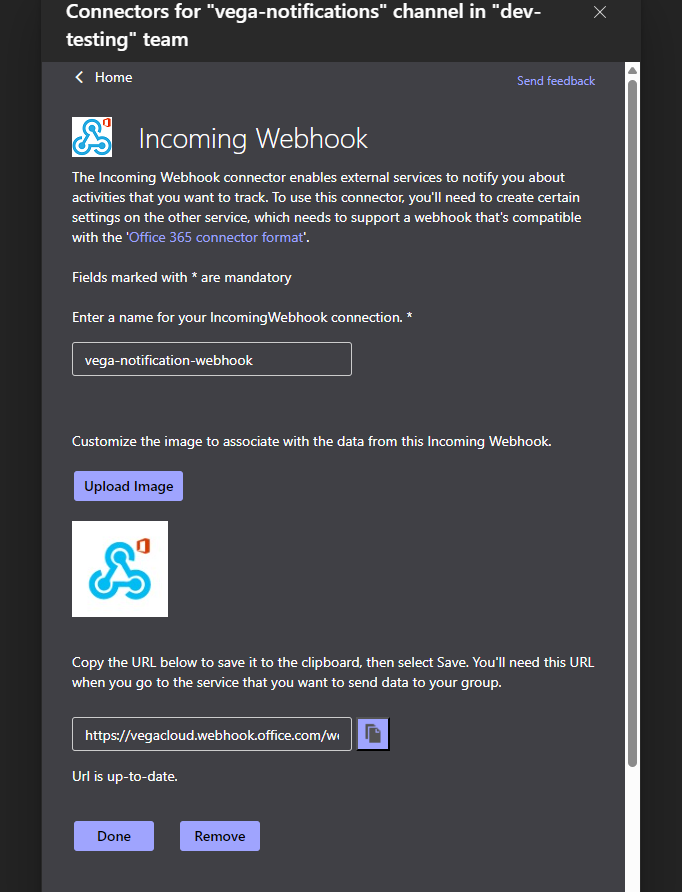
For the "Incoming Webhook" configuration, complete the following:
- Enter a Name for the webhook
- Customize the Image (optional).
- Click "Create".
- Copy the webhook URL. You will need this URL to configure the webhook in Vega (next step).
-
Login to the Vega Platform, and complete the following:
- Navigate to Settings > Organization Settings > Organization Notifications.
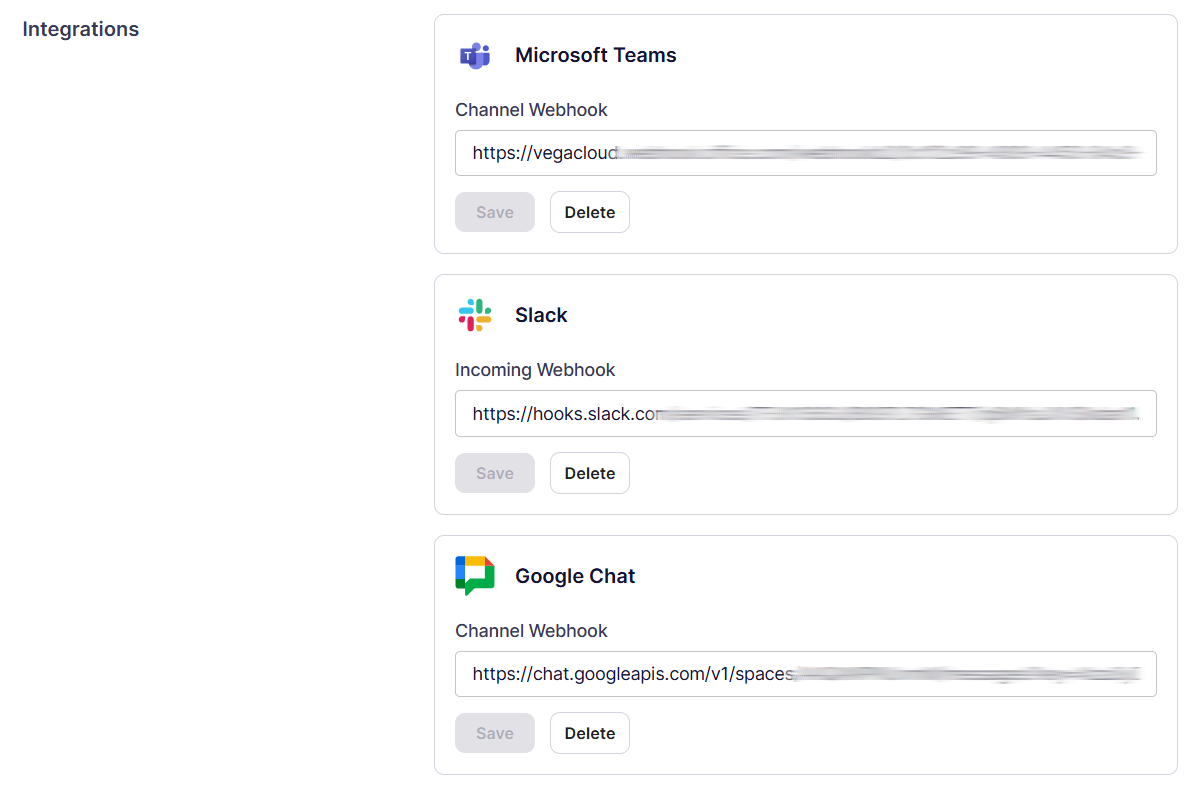
- Enter your webhook URL (from the previous step) into the Microsoft Teams > Channel Webhook field.
- Click "Save".
Slack
Currently, only Anomaly notifications for an organization are sent to the configured Slack channel. All anomalies across the organization will be sent once per day.
Step 1: Create a Slack App
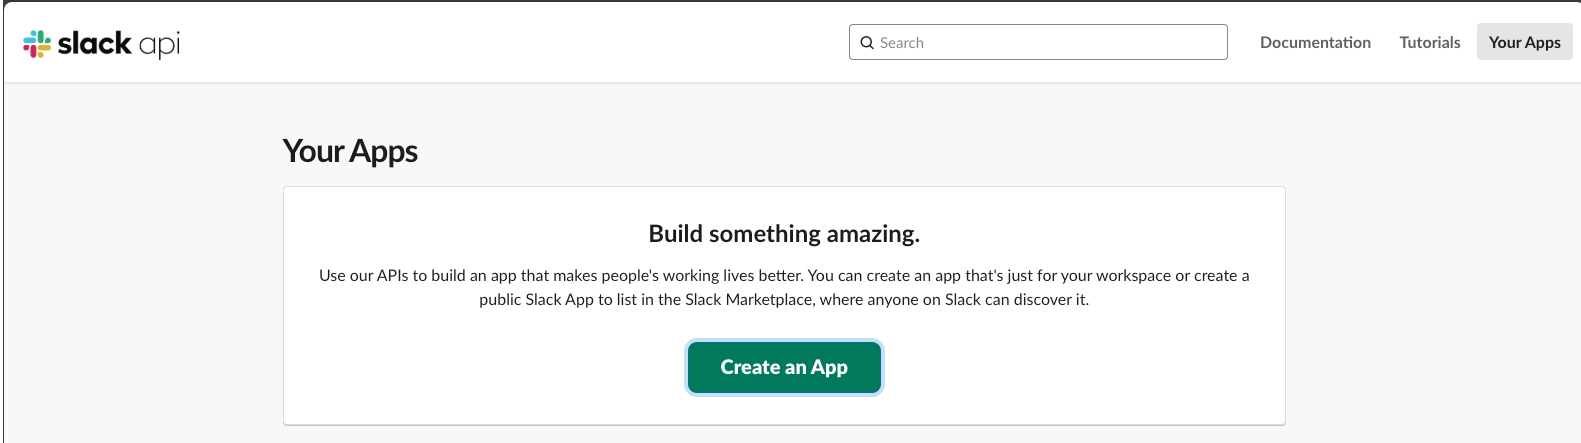
- Go to the Slack API website.
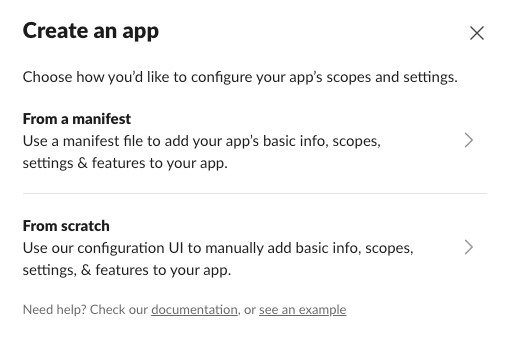
- Click “Create an App.”
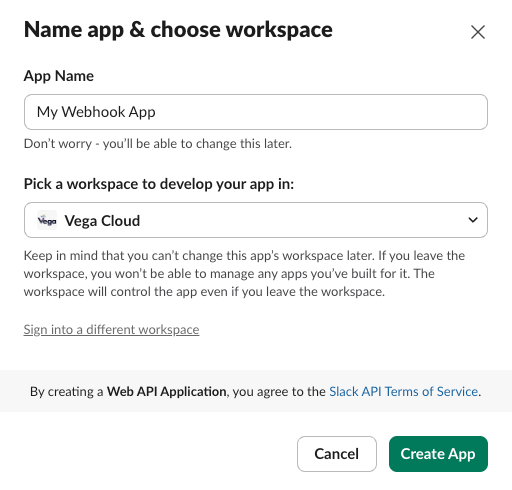
- Select “From scratch.”
- Enter an App Name (e.g., “My Webhook App”).
- Choose a Slack Workspace where you want to install the app.
- Click “Create App.”
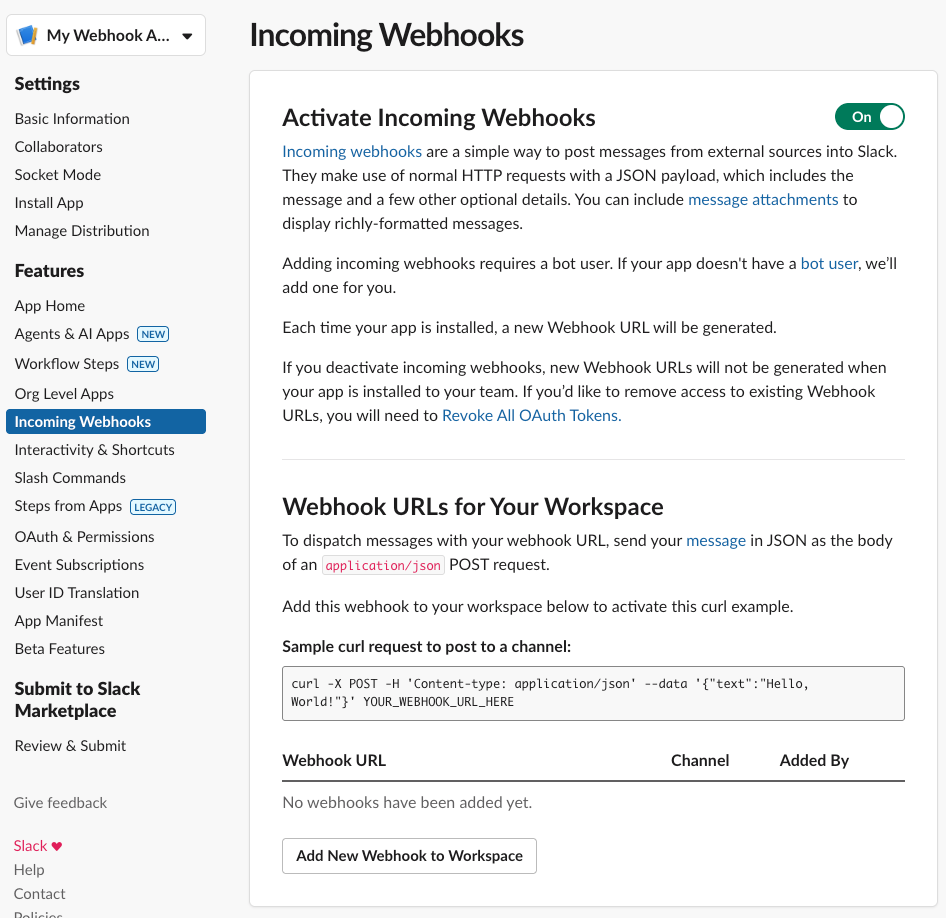
Step 2: Enable Incoming Webhooks
- In your newly created app, go to the “Features” section on the left sidebar.
- Click on “Incoming Webhooks.”
- Toggle the switch “Activate Incoming Webhooks” to ON.
Step 3: Create a Webhook URL
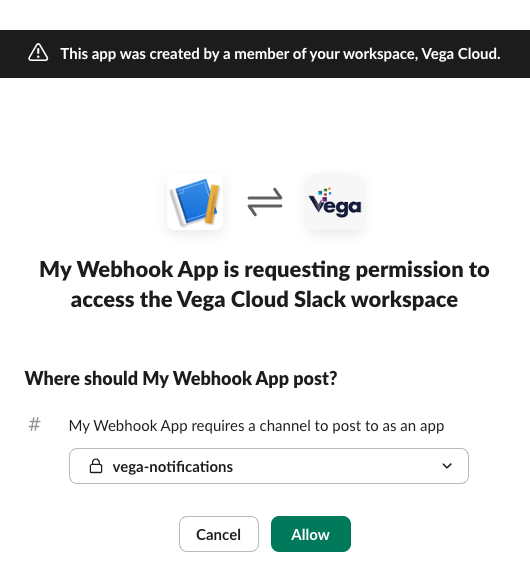
- Scroll down and click “Add New Webhook to Workspace.”
- Select a channel where the webhook will post messages.
- Click “Allow.”
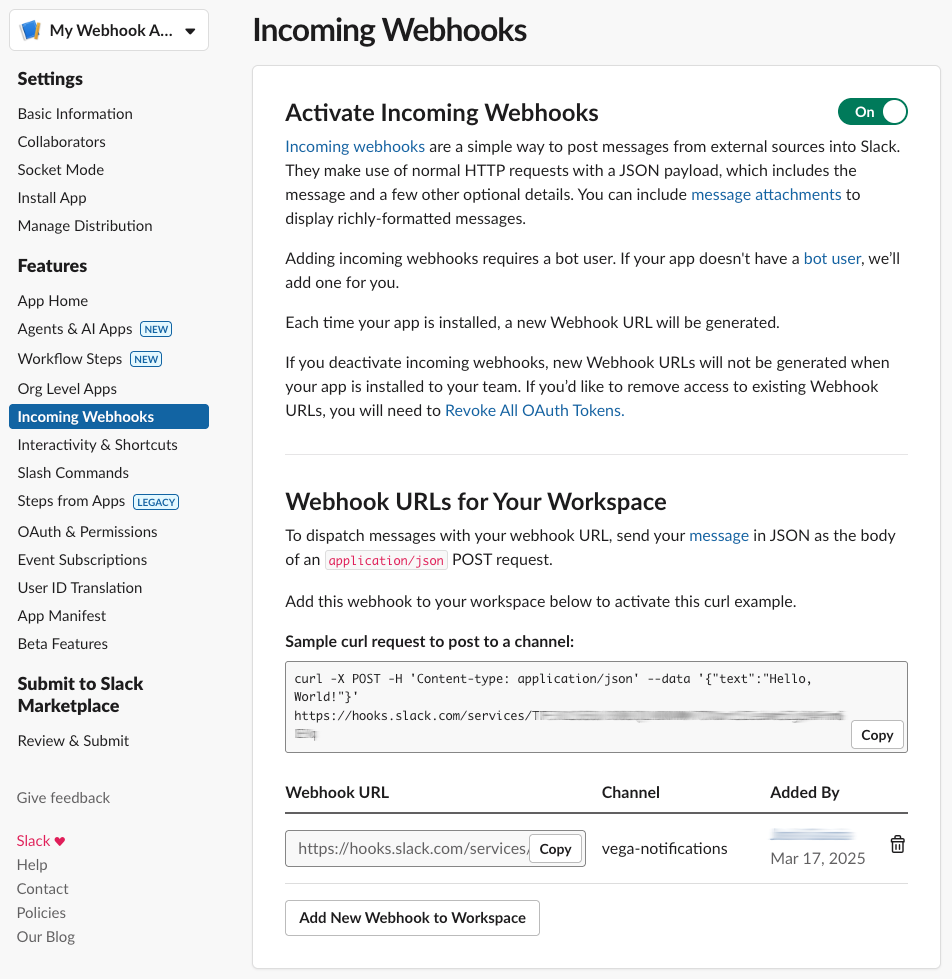
- Slack will generate a Webhook URL (it looks like:
https://hooks.slack.com/services/T00000000/B00000000/XXXXXXXXXXXXXXXXXXXXXXXX). - Copy and save this URL for the next step.
Step 4: Configure Vega Platform
Login to the Vega Platform, and complete the following:
- Navigate to Settings > Organization Settings > Organization Notifications.
- Enter your webhook URL (from the previous step) into the Slack > Incoming Webhook field.
- Click "Save".
Google Chat
Currently, only Anomaly notifications for an organization are sent to the configured Google space. All anomalies across the organization will be sent once per day.
Step 1: Create a Space
- Login to the Google Workspace Dashboard.
- Click on "Google Chat".
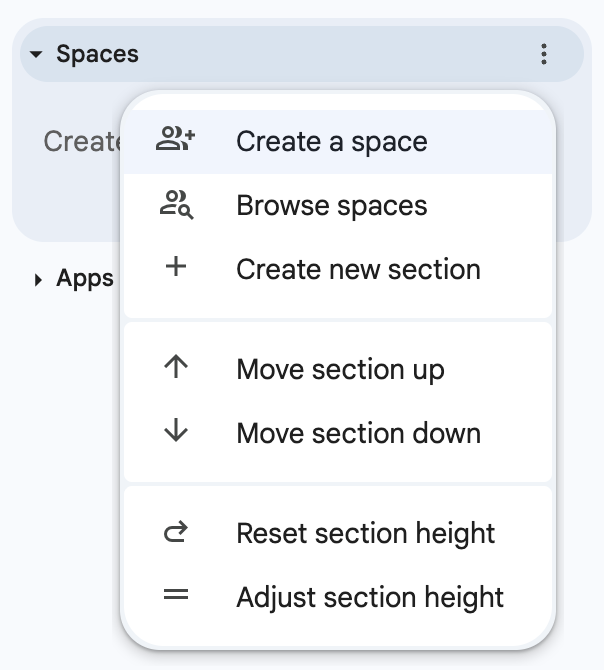
- In the Spaces menu, select "Create a Space" or select "Browse Spaces" to find an existing one.
- If creating a new Space, enter the Space name along with other access settings per your company needs.

- If creating a new Space, enter the Space name along with other access settings per your company needs.
Step 2: Add a Webhook
- Click on the Space drop down menu.
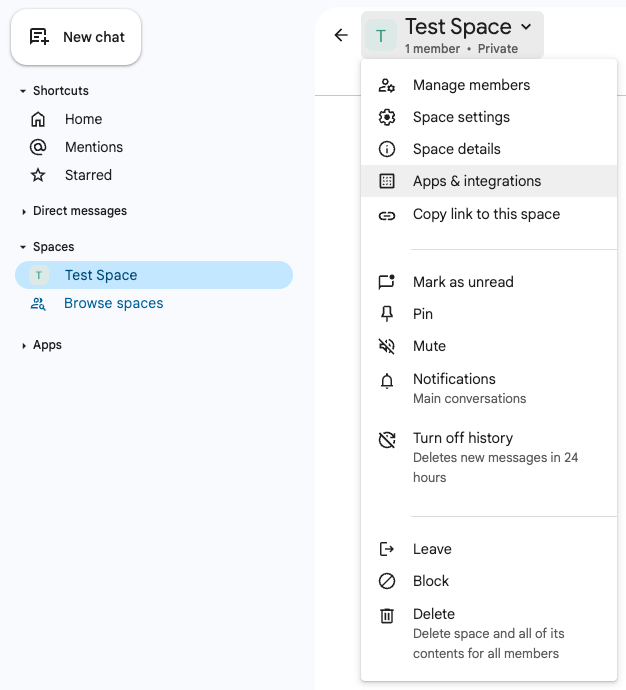
- Click on "Apps & integrations".
- Navigate to the Webhooks tab.

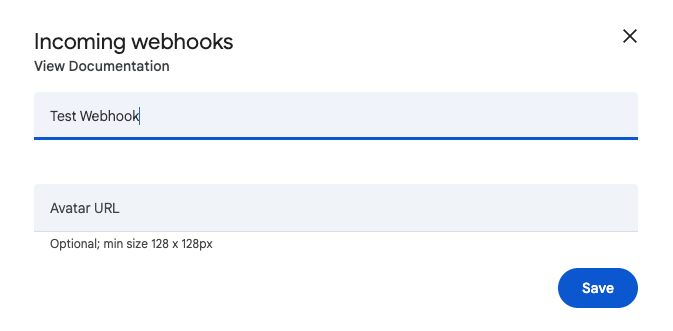
- Click "+ Add Webhooks".
- Input a Name and optional Avitar URL for the webhook. Click "Save".
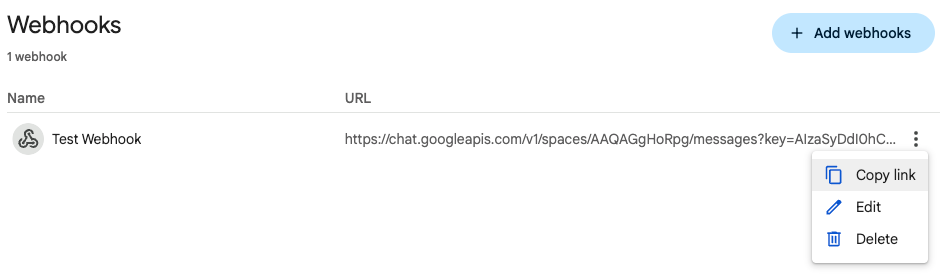
- Click on the Webhook menu and select "Copy Link", which will be used in the next step.
Step 3: Configure Vega Platform
Login to the Vega Platform, and complete the following:
- Navigate to Settings > Organization Settings > Organization Notifications.
- Enter your webhook URL (from the previous step) into the Google Chat > Incoming Webhook field.
- Click "Save".